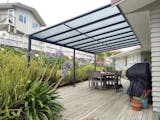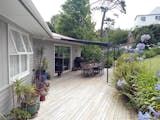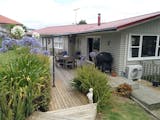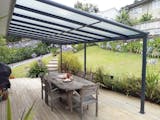




Patio Canopy Roof 5.57M x 3M
- $1,499.00
$1,799.00- $1,499.00
- Unit price
- per
Estimate Shipping
Patio Canopy Roof 5.57M x 3M
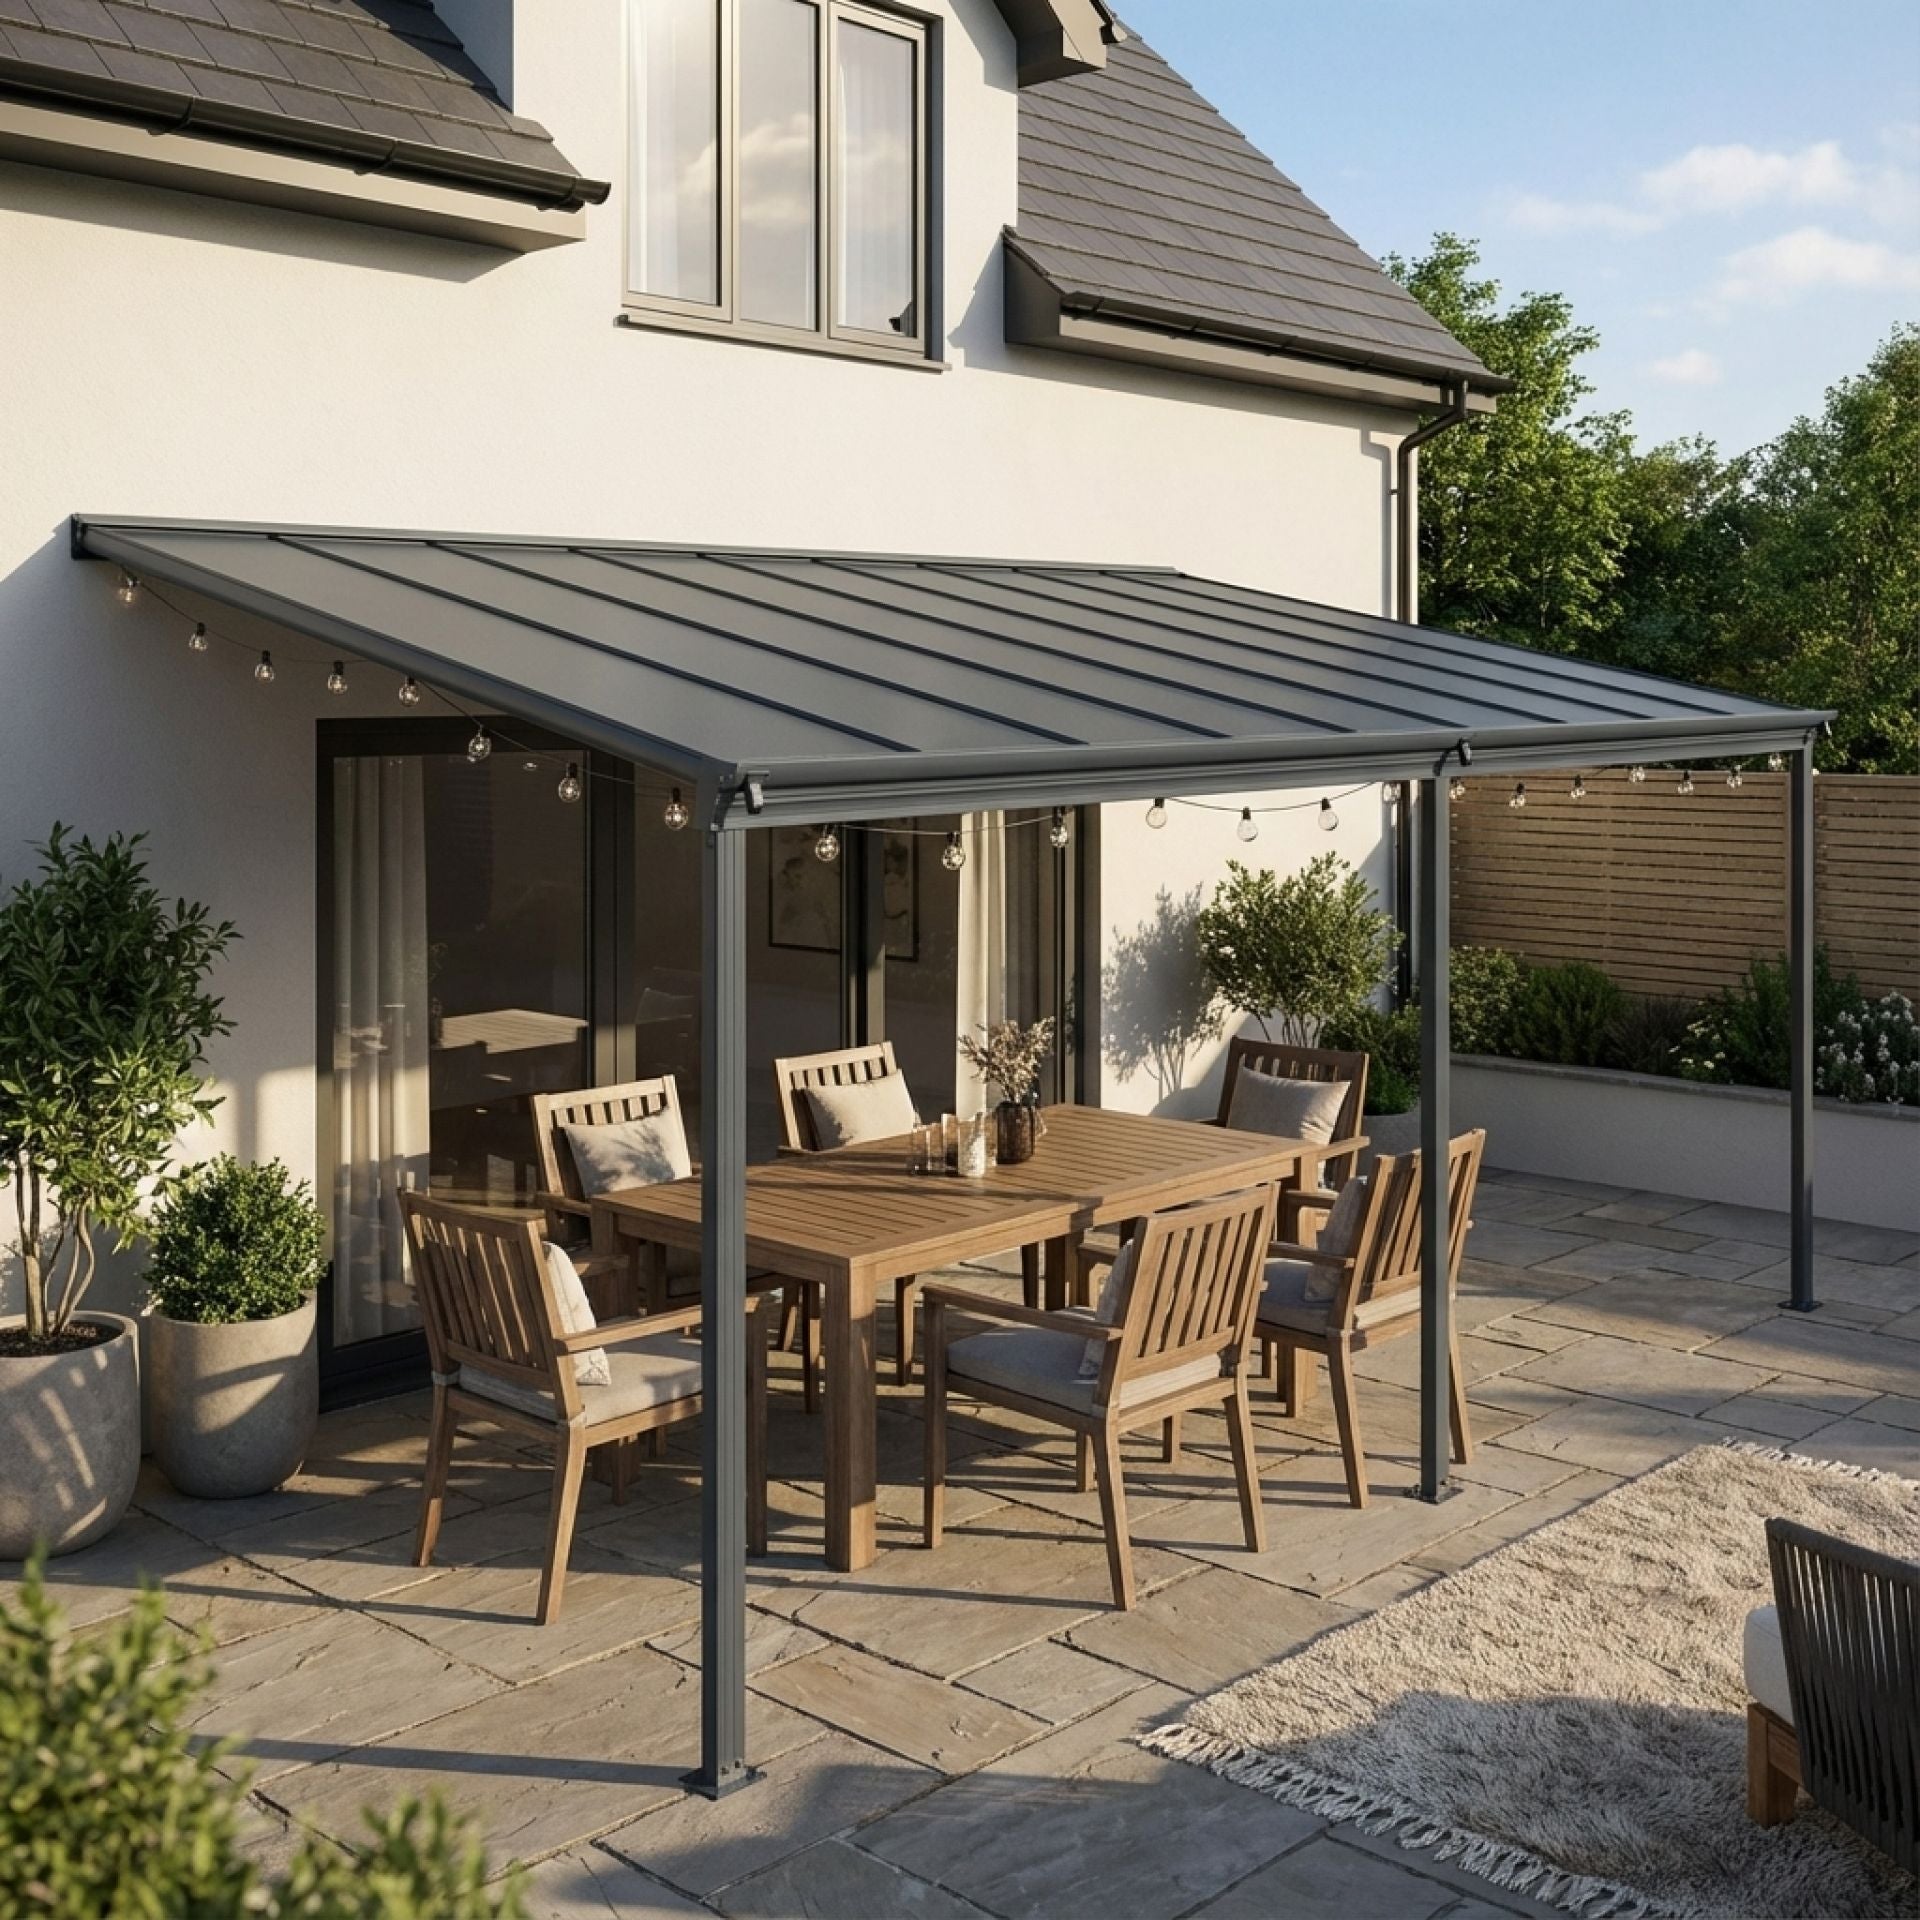
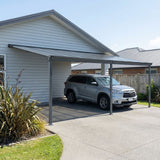
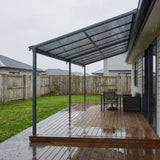
Embrace the outdoors with confidence with our Patio Canopy, crafted to offer your deck or balcony a serene, weatherproof haven. Made with powder-coated aluminium, it promises longevity and steadfastness. The choice of polycarbonate over glass ensures a sturdy, lightweight cover without the risk of shattering.
The canopy's sleek lean-to design not only complements your outdoor aesthetic but also incorporates a built-in gutter for optimal water drainage, marrying style with functionality.
This Patio Canopy is a versatile addition to your home. It shields against UV rays while maintaining clarity and allows for myriad outdoor activities — be it a play area for children on rainy days, a makeshift carport, or a shelter for your barbeque plans. With this canopy, the elements no longer dictate your enjoyment. Secure a year-round, protected outdoor space with our Patio Canopy.
PLEASE NOTE:
Installation is required!!
All our delivery is one man delivery. Due to the size of this item, please ensure you have a helper at home to provide a hand to the driver. Otherwise, please contact in advance for two men delivery with an additional charge.
- Product Dimensions: 5.57 x 3.03 x 2.58m
- Package Dimensions: 304 x 65.5 x 20.5cm
- Post Height: 1.92m
- Product Weight: 61.4kg
- Package Weight: 69.4kg
- Maximum Loading Capacity:70kgs/m²
- Maximum Wind Resistance:100km/h
- Anti-UV:5 Years
- Material:Powder-coated aluminium/ Galvanised steel/ Polycarbonate sheets
- Colour:Charcoal Grey
Package Content:
1 x Patio Canopy Roof 5.57m x 3m - CHARCOAL GREY
- 100% Brand New Patio Canopy Roof
- Robust 1.5mm thick powder-coated aluminium
- 6mm twin wall polycarbonate panel + UV treated
- Galvanised steel connectors & joints
- Built-in gutter for water drainage
- Simple & practical lean-to design
- Offers extended & covered outdoor spaces
- Accessories & instructions included
Related Products
- $1,499.00
$1,799.00- $1,499.00
- Unit price
- per
- $1,499.00
$1,799.00- $1,499.00
- Unit price
- per
- $1,499.00
$1,799.00- $1,499.00
- Unit price
- per
- $1,499.00
$1,799.00- $1,499.00
- Unit price
- per
- $1,499.00
$1,799.00- $1,499.00
- Unit price
- per
- $1,499.00
$1,799.00- $1,499.00
- Unit price
- per
- $1,499.00
$1,799.00- $1,499.00
- Unit price
- per
- $1,499.00
$1,799.00- $1,499.00
- Unit price
- per
- $1,499.00
$1,799.00- $1,499.00
- Unit price
- per
- $1,499.00
$1,799.00- $1,499.00
- Unit price
- per
Recently Viewed Products
- $1,499.00
$1,799.00- $1,499.00
- Unit price
- per
- $1,499.00
$1,799.00- $1,499.00
- Unit price
- per
- $1,499.00
$1,799.00- $1,499.00
- Unit price
- per
- $1,499.00
$1,799.00- $1,499.00
- Unit price
- per
- $1,499.00
$1,799.00- $1,499.00
- Unit price
- per
- $1,499.00
$1,799.00- $1,499.00
- Unit price
- per
- $1,499.00
$1,799.00- $1,499.00
- Unit price
- per
- $1,499.00
$1,799.00- $1,499.00
- Unit price
- per
- $1,499.00
$1,799.00- $1,499.00
- Unit price
- per
- $1,499.00
$1,799.00- $1,499.00
- Unit price
- per
Shipping & Returns
- Choosing a selection results in a full page refresh.


